

In an effort to improve myself, I have decided (after much, much back and forth) to attempt to learn Swift.
I spend my day managing both Apple and Windows devices. The majority of my time is spent around macOS, and iOS. However, I also spend quite a lot of time deploying Windows-based devices too. I've also had a few app ideas i've been wanting to create for a number of years.
After much self-debate, I finally decided that Swift would be the best option, as I spend more time in the Apple world than the others these days. Not only will it allow me to create the apps I want, but it could also have a positive effect on the things I'm able to achieve in work, too. Unfortunately, this won't help me on the Windows side, but, I can also do enough PowerShell to be dangerous, and have tools such as Microsoft Endpoint Manager to make my life easier.
So, feel free to follow along as I learn SwiftUI, and see what I make, or if I can even make it to day 100. It wouldn't be the first time I've done 100 days of something - check out my 100 Days to Offload post series! https://blog.grayw.co.uk/tag/100daystooffload/
As I can already do some basic things with PowerShell, there are going to be parts of this course that are immediately obvious, but I'll be treating them as if I know nothing. So you'll need to bare with me (or skip ahead if you're reading this later on in the course).
Less blabber, on to the content!
The Workspace
Due to my job role, I've got a few devices I can work with here. Both a MacBook, and an iPad (yes, I'm lucky, and grateful). As long as it doesn't interfere with my day to day work, I'm able to experiement with these devices as I wish.
With the recent release of Swift Playground 4 - I will probably be using that as much as possible, rather than the full blown Xcode on the Mac. This will allow me to be far more flexible on when and where I'm learning (I'm looking at you, porcelain throne).
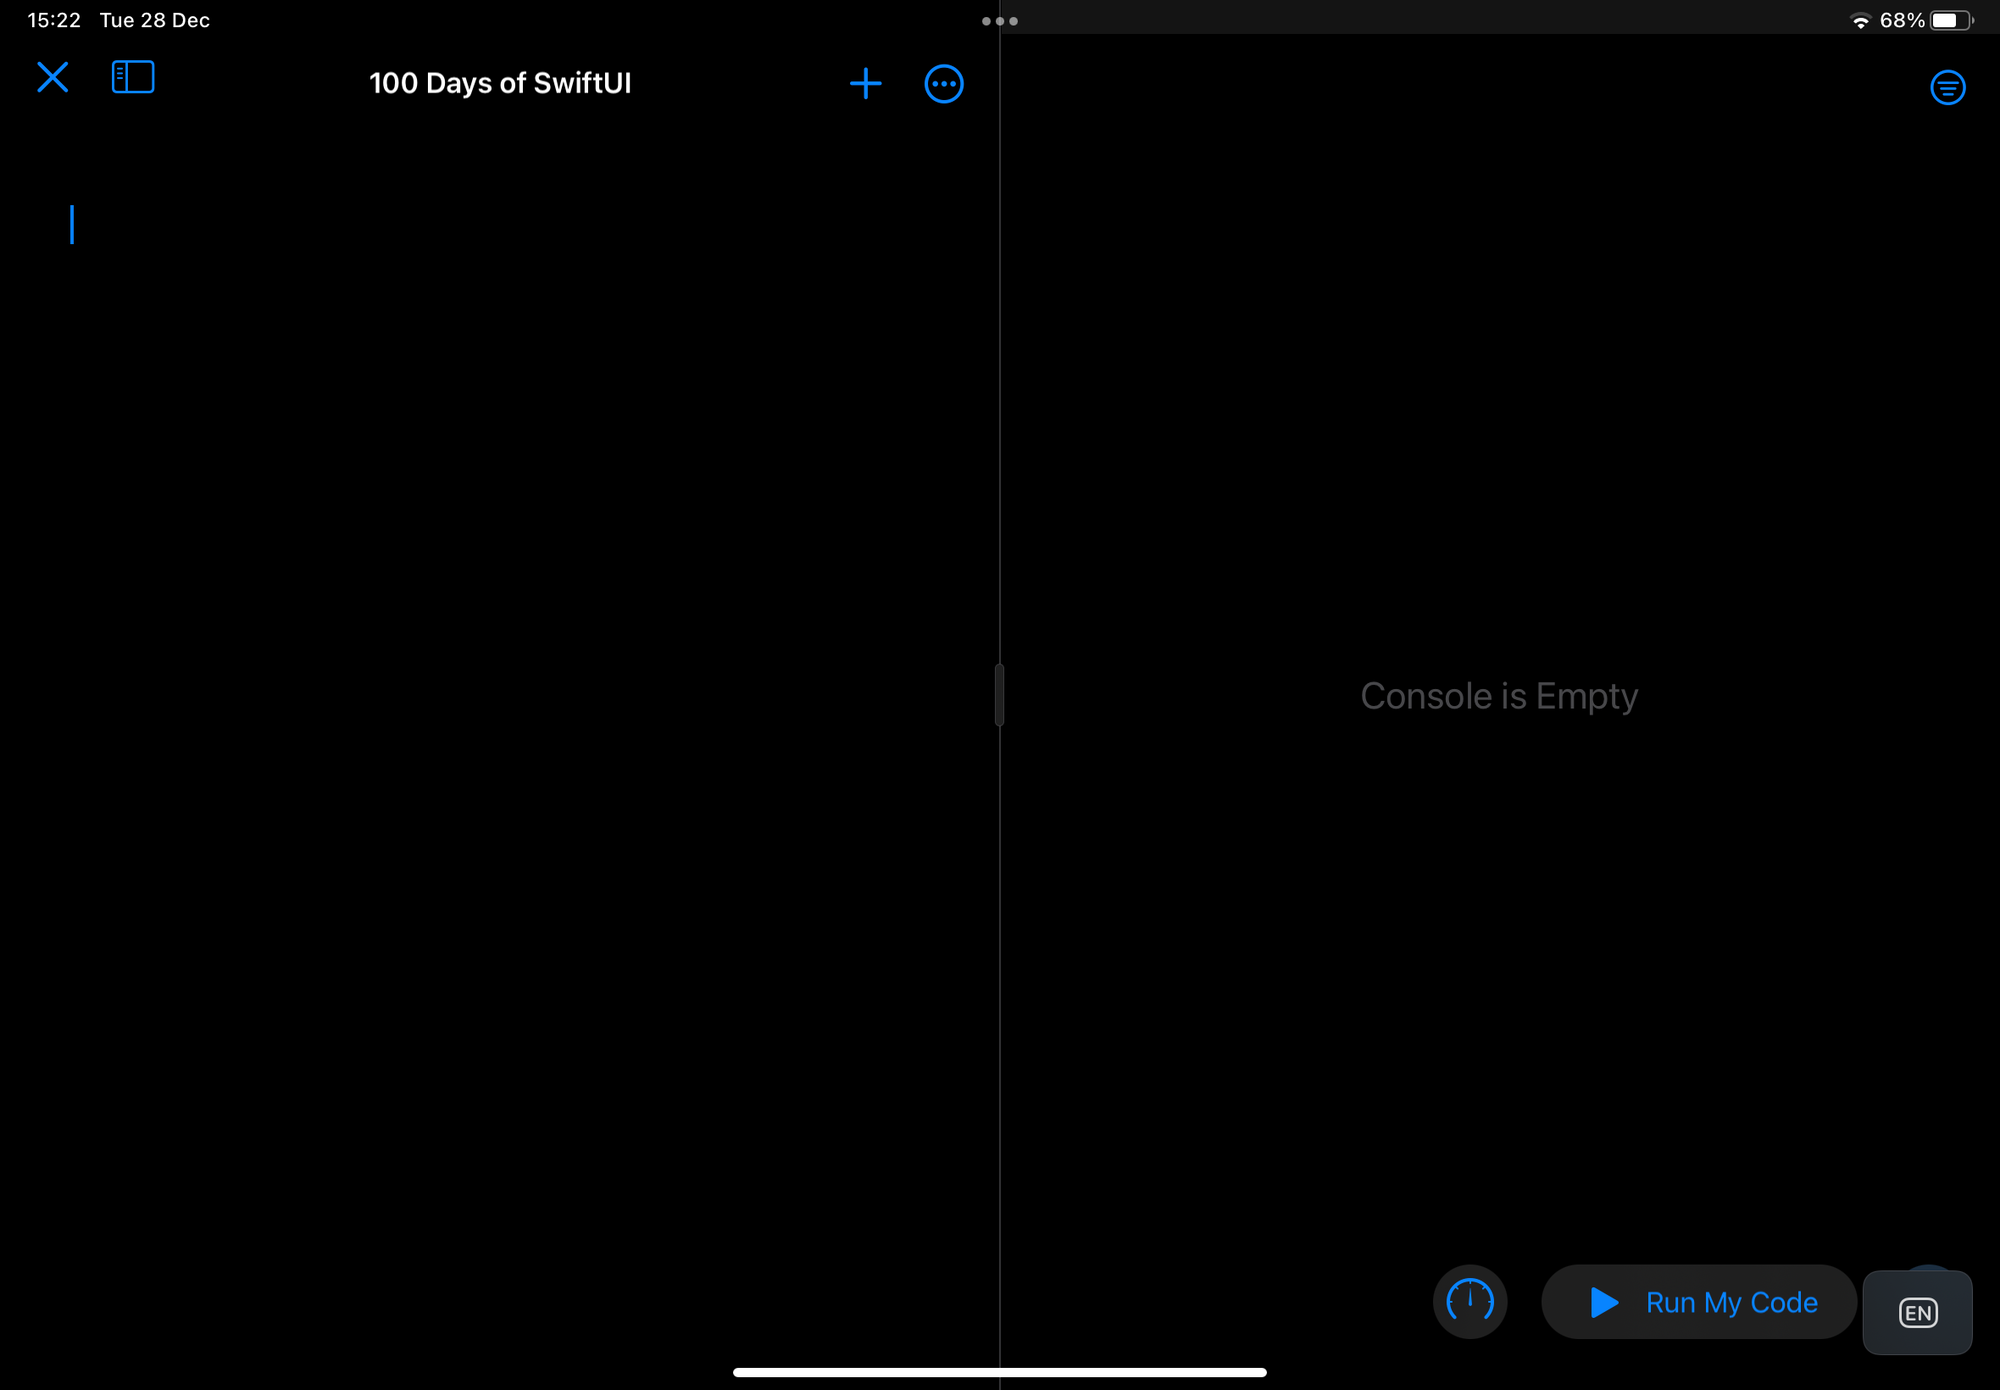
I've created a blank plaground to start the basics.
Variables & Constants
The first main part of day 1, is the creation of variables and constants.
Variables are created by using the var keyword, followed by the name you wish to give the variable, an = sign, and then the content.
var greeting = "Hello, Readers!"Variables can be re-assigned a new value as often as needed, but you only need to use the var keyword once. After that, simply use the name of variable.
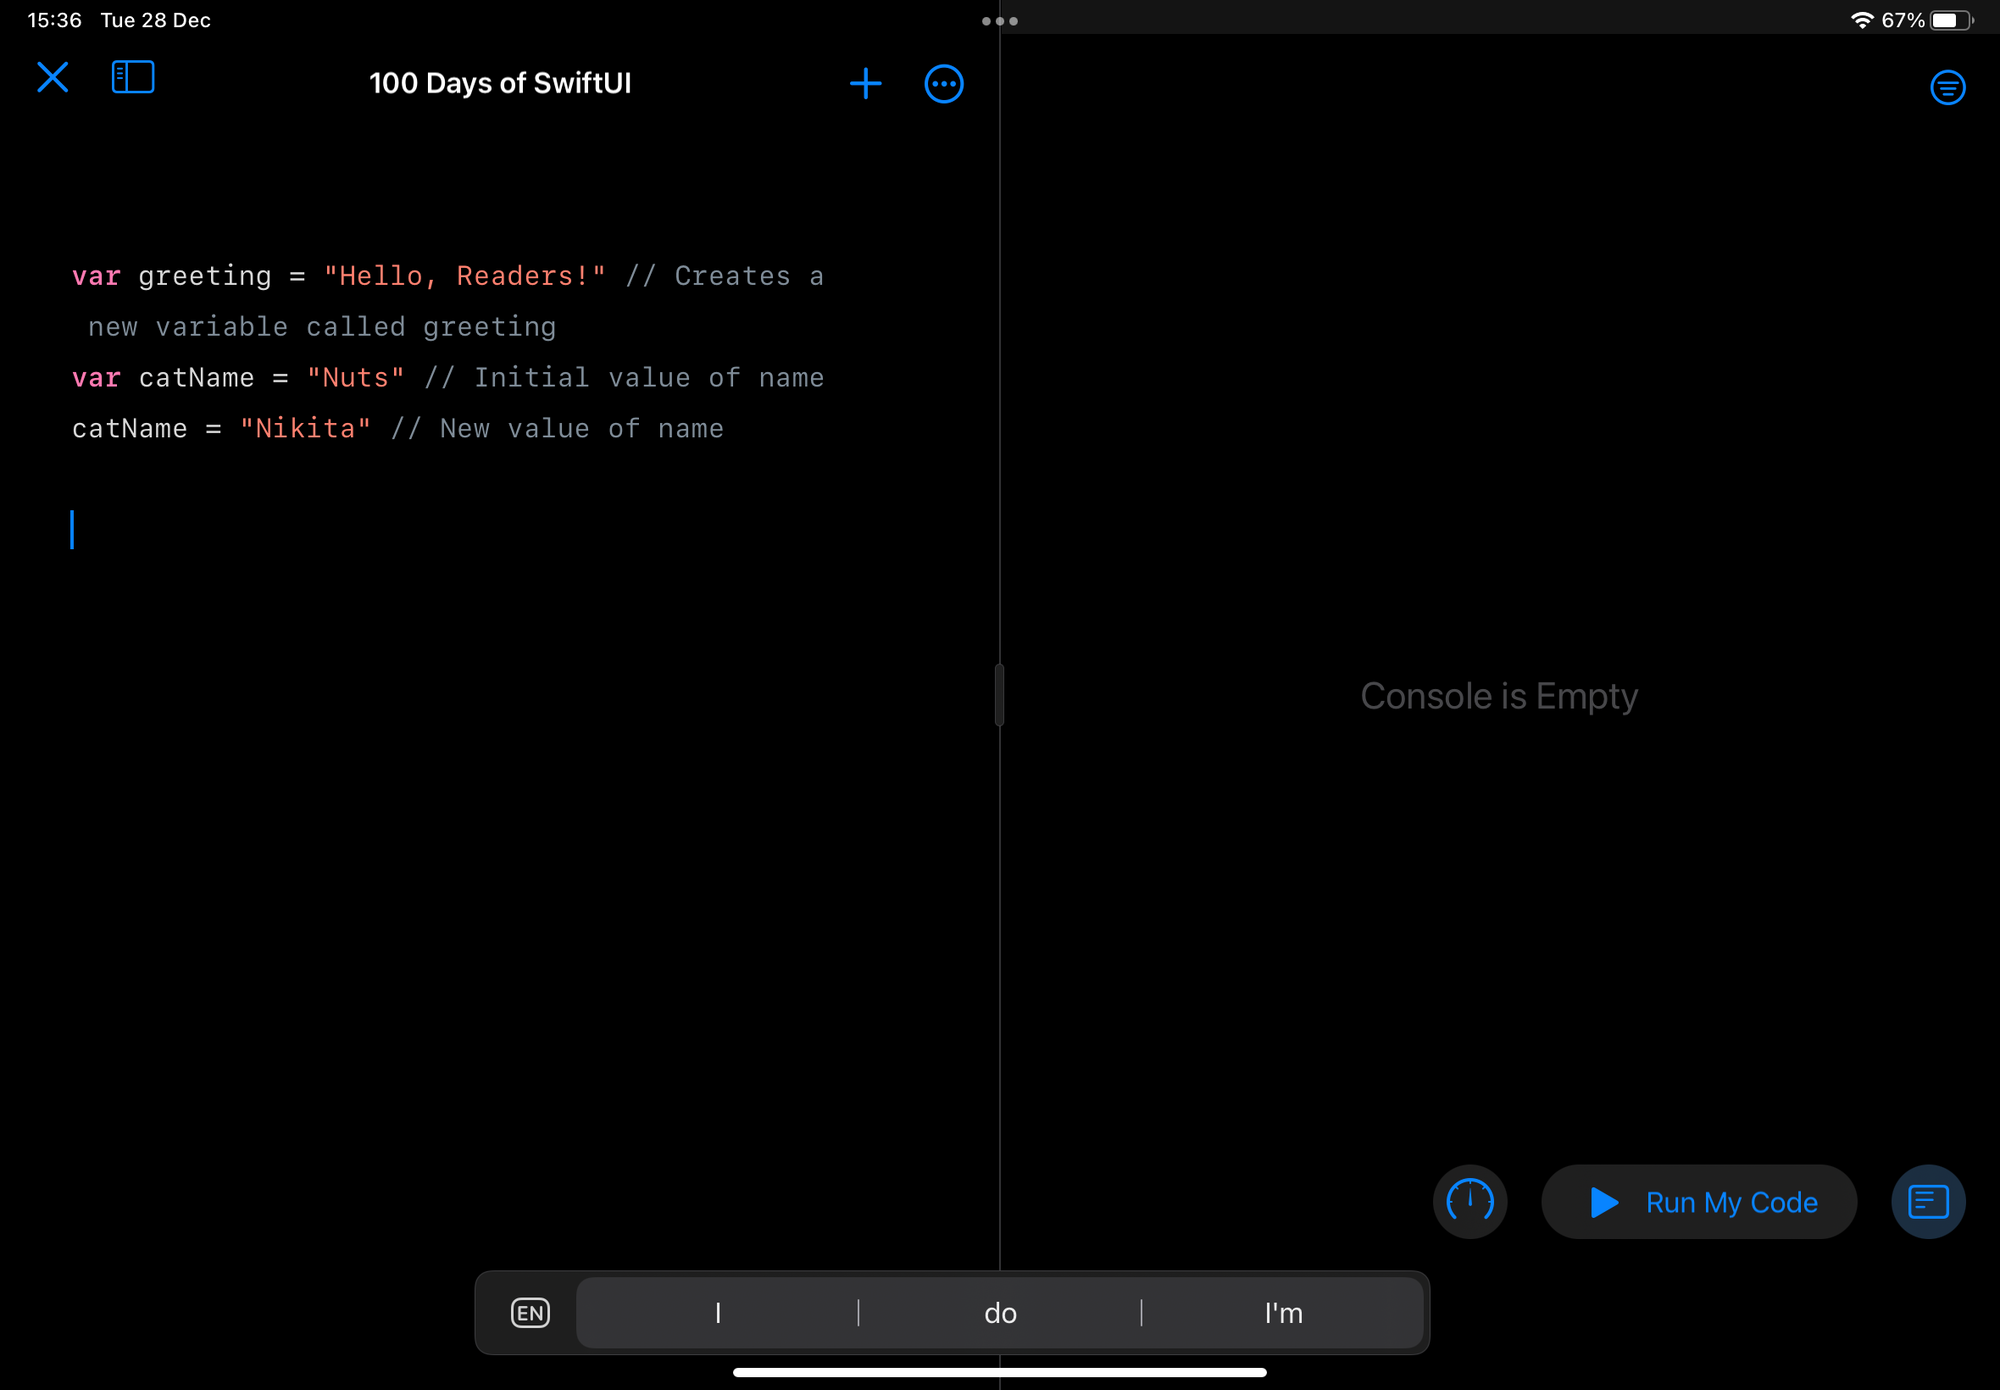
In the above, you can see that I've created the greeting variable, and assigned it the value of "Hello, Readers!". Not quite the typical "Hello, World", but it's close enough!
After that, I create a variable called catName and assign it the value of Nuts (yep, that's the name of one of my cats). I then change the value to the name of my other cat. So, what does this do?
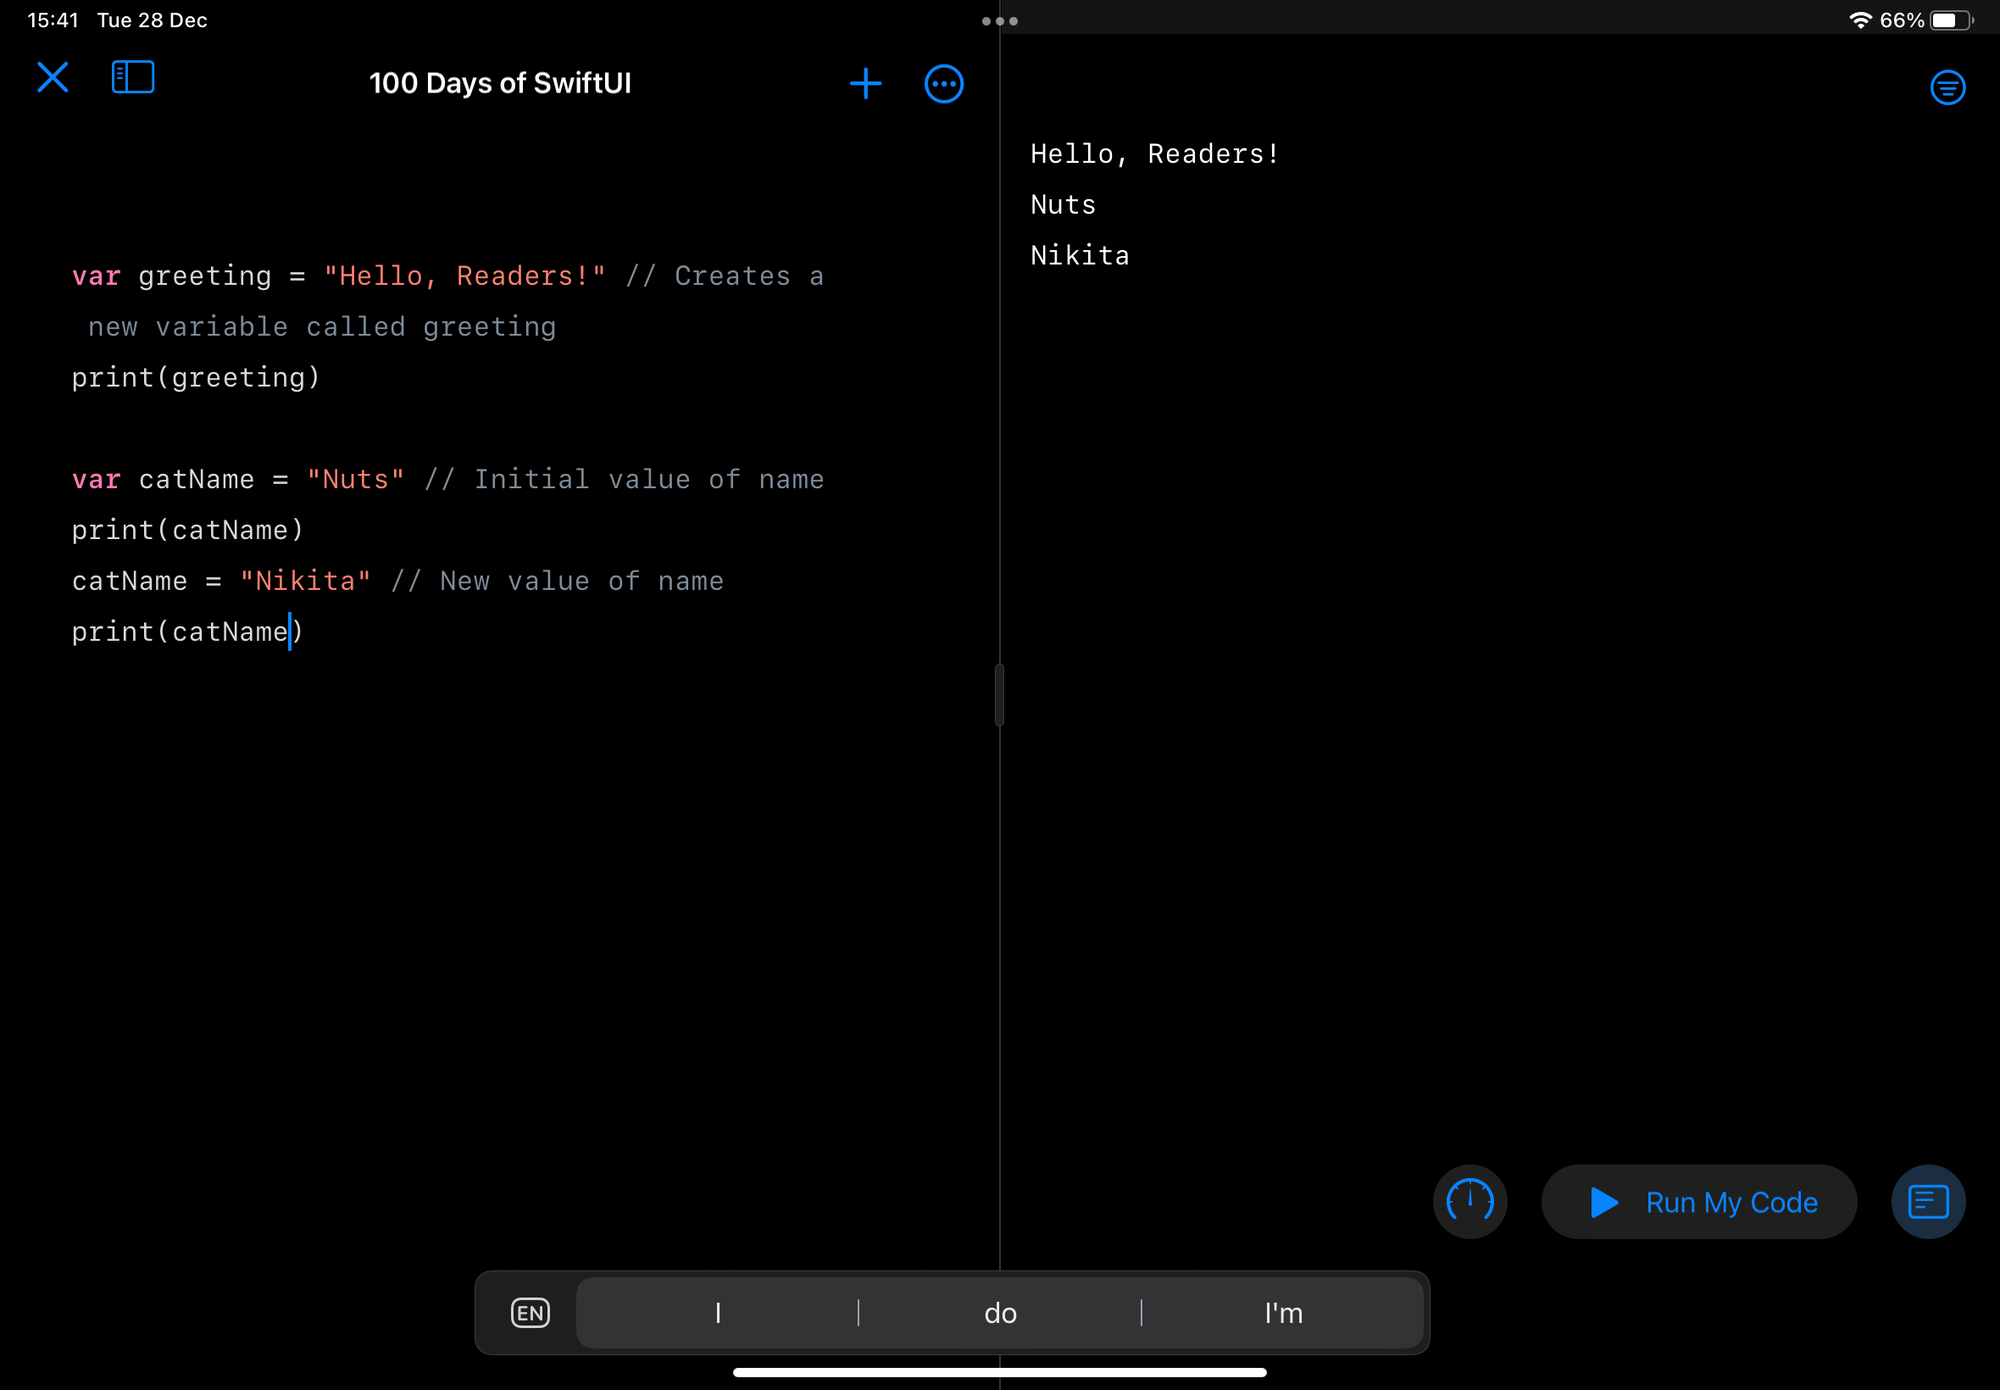
If I add in a few lines to "print" the variable contents, I can see how they're returned.
Variables can contain all manner of contents, but we're sticking with simple examples for now.
Next up is Constants. Their value cannot be changed once assigned. If you attempt to change the value, you will receive a warning, and the code will not run.
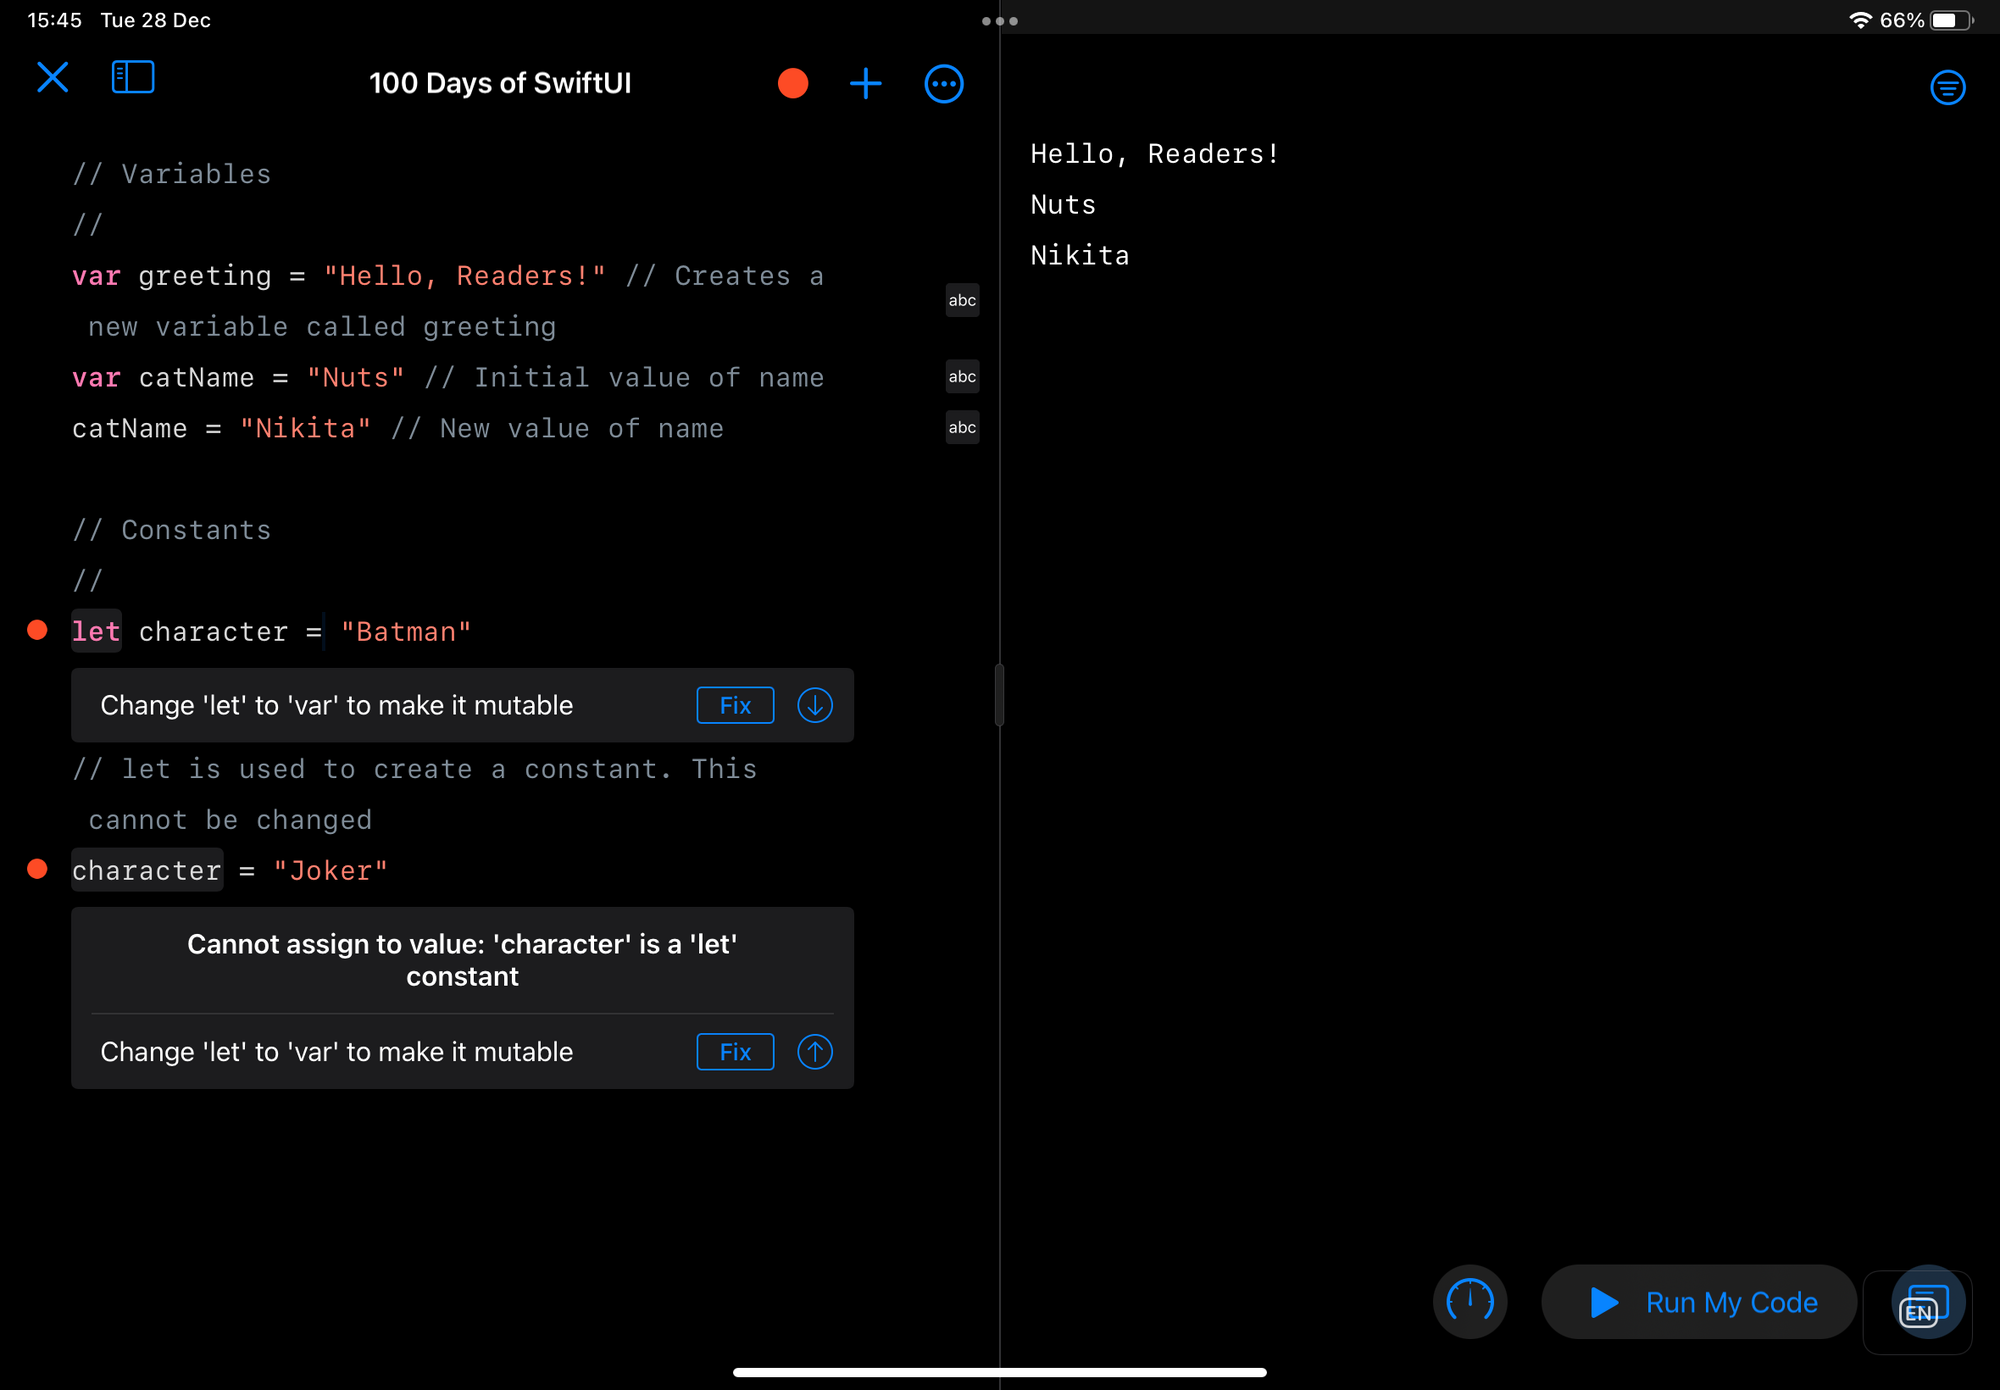
When possible, you should use a constant over a variable, as this allows Swift to better optimise your code, and, more importantly, stops you from changing the value by mistake.
The names of variables and constants are case sensitive, and generally created using the camelCase naming convention.
- Variables Review Test: 6/6
- Constants Review Test: 6/6
Working with Strings
So far, all of our variables or constants have been strings. There are a number of things we can do with them. This is just a couple of very basic examples.
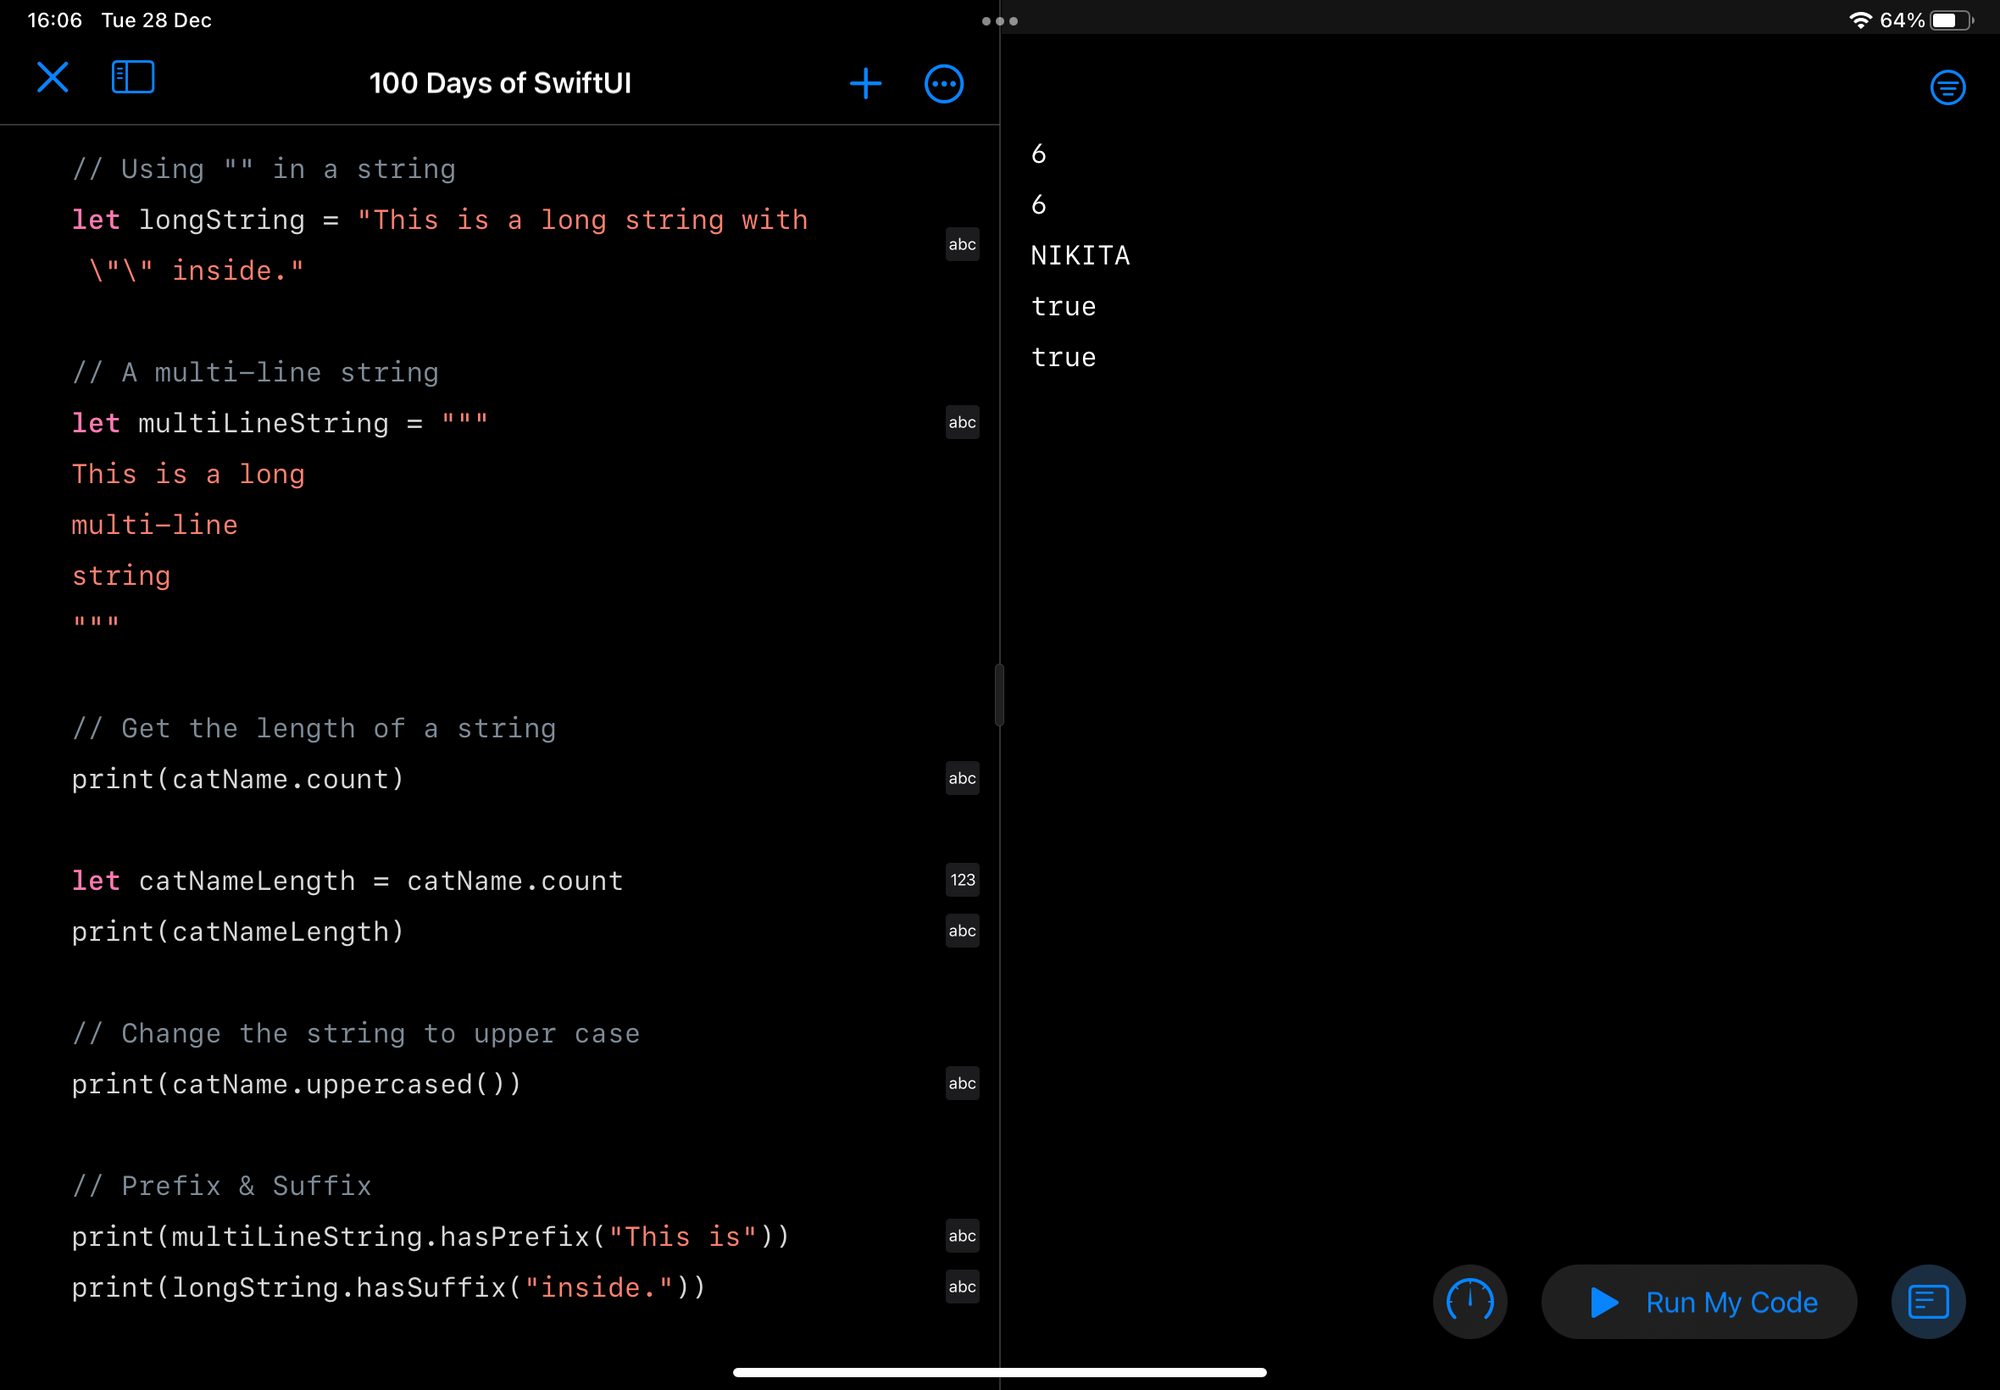
This first is using "" within a string. To do this, you need to use the \ symbol to escape that character, otherwise Swift will show an error, as it thinks the string has ended, and there is now contents after it that shouldn't be there.
Next is a multi-line string. These are rarely used, but should you need to use one, then they start with """, with your text on new lines, ended with """ on the last line.
You can get the length of a string by using .count. In my example, I printed the length of catName, which returned 6. You don't have to print this directly, it can be assigned to another variable/constant, and then used later.
Another example is converting the entire string to uppercase by using .uppercased()
And finally, you can also check strings to see if they start with (prefix), or end with (suffix) specific words or characters. This is done by using either .hasPrefix() or .hasSuffix(). Both of my examples return true, as it matches. It's important to keep in mind that this is case sensitive. So, if my last example was:
print(longString.hasSuffix("INSIDE."))This would return false. As that's not how the string ends.
- Multi-line String Review Test: 12/12
Working with Whole Numbers
Working with integers as variables or constants is just as easy as it is with strings. You use the var/let keywords, followed by the name, and then the value. If the number is really long, you can use _ to break it up, and make it easier to read. Swift will ignore these, and display the number as it should be.
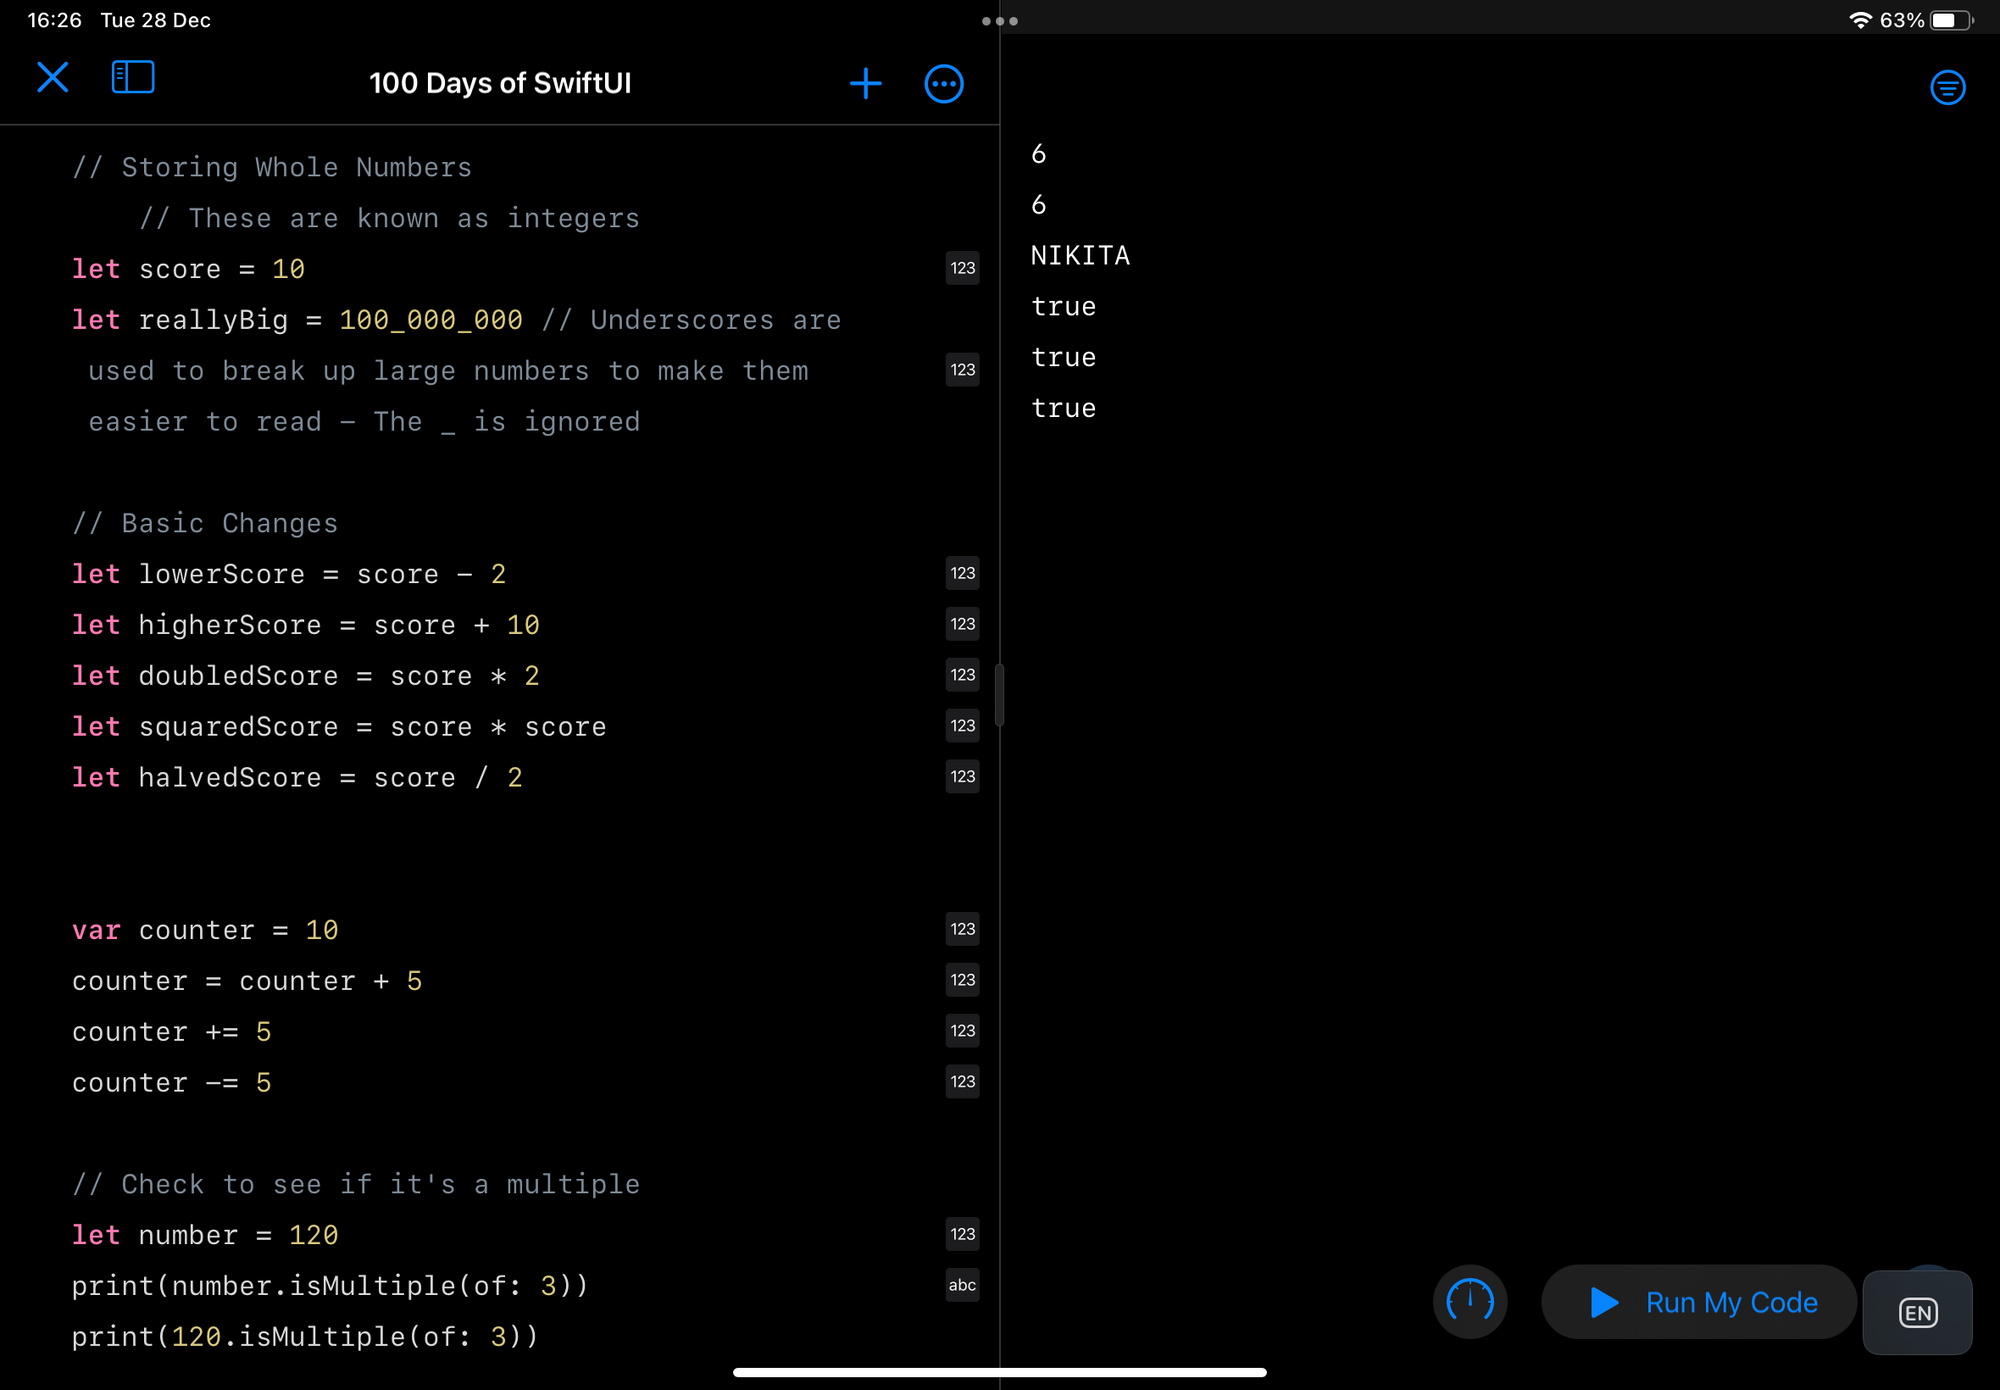
You can also do the obvious things, such as addition, subtraction, division, etc. There is also a way of checking to see if a number is a multiple of another, by using .isMultiple(of: number).
- Working with Whole Numbers Review Test: 6/6
Working with Decimal Numbers
Swift also has the ability to work with decimal numbers, also known as floating point, or doubles.
You can do the same kind of things with these, however, at this very basic level, there are things you need to be aware of, and you may not get the result you were expecting.
For example,
let floatingNumber = 0.1 + 0.2This will not return 0.3 as you might expect, as you can see in the below screenshot.
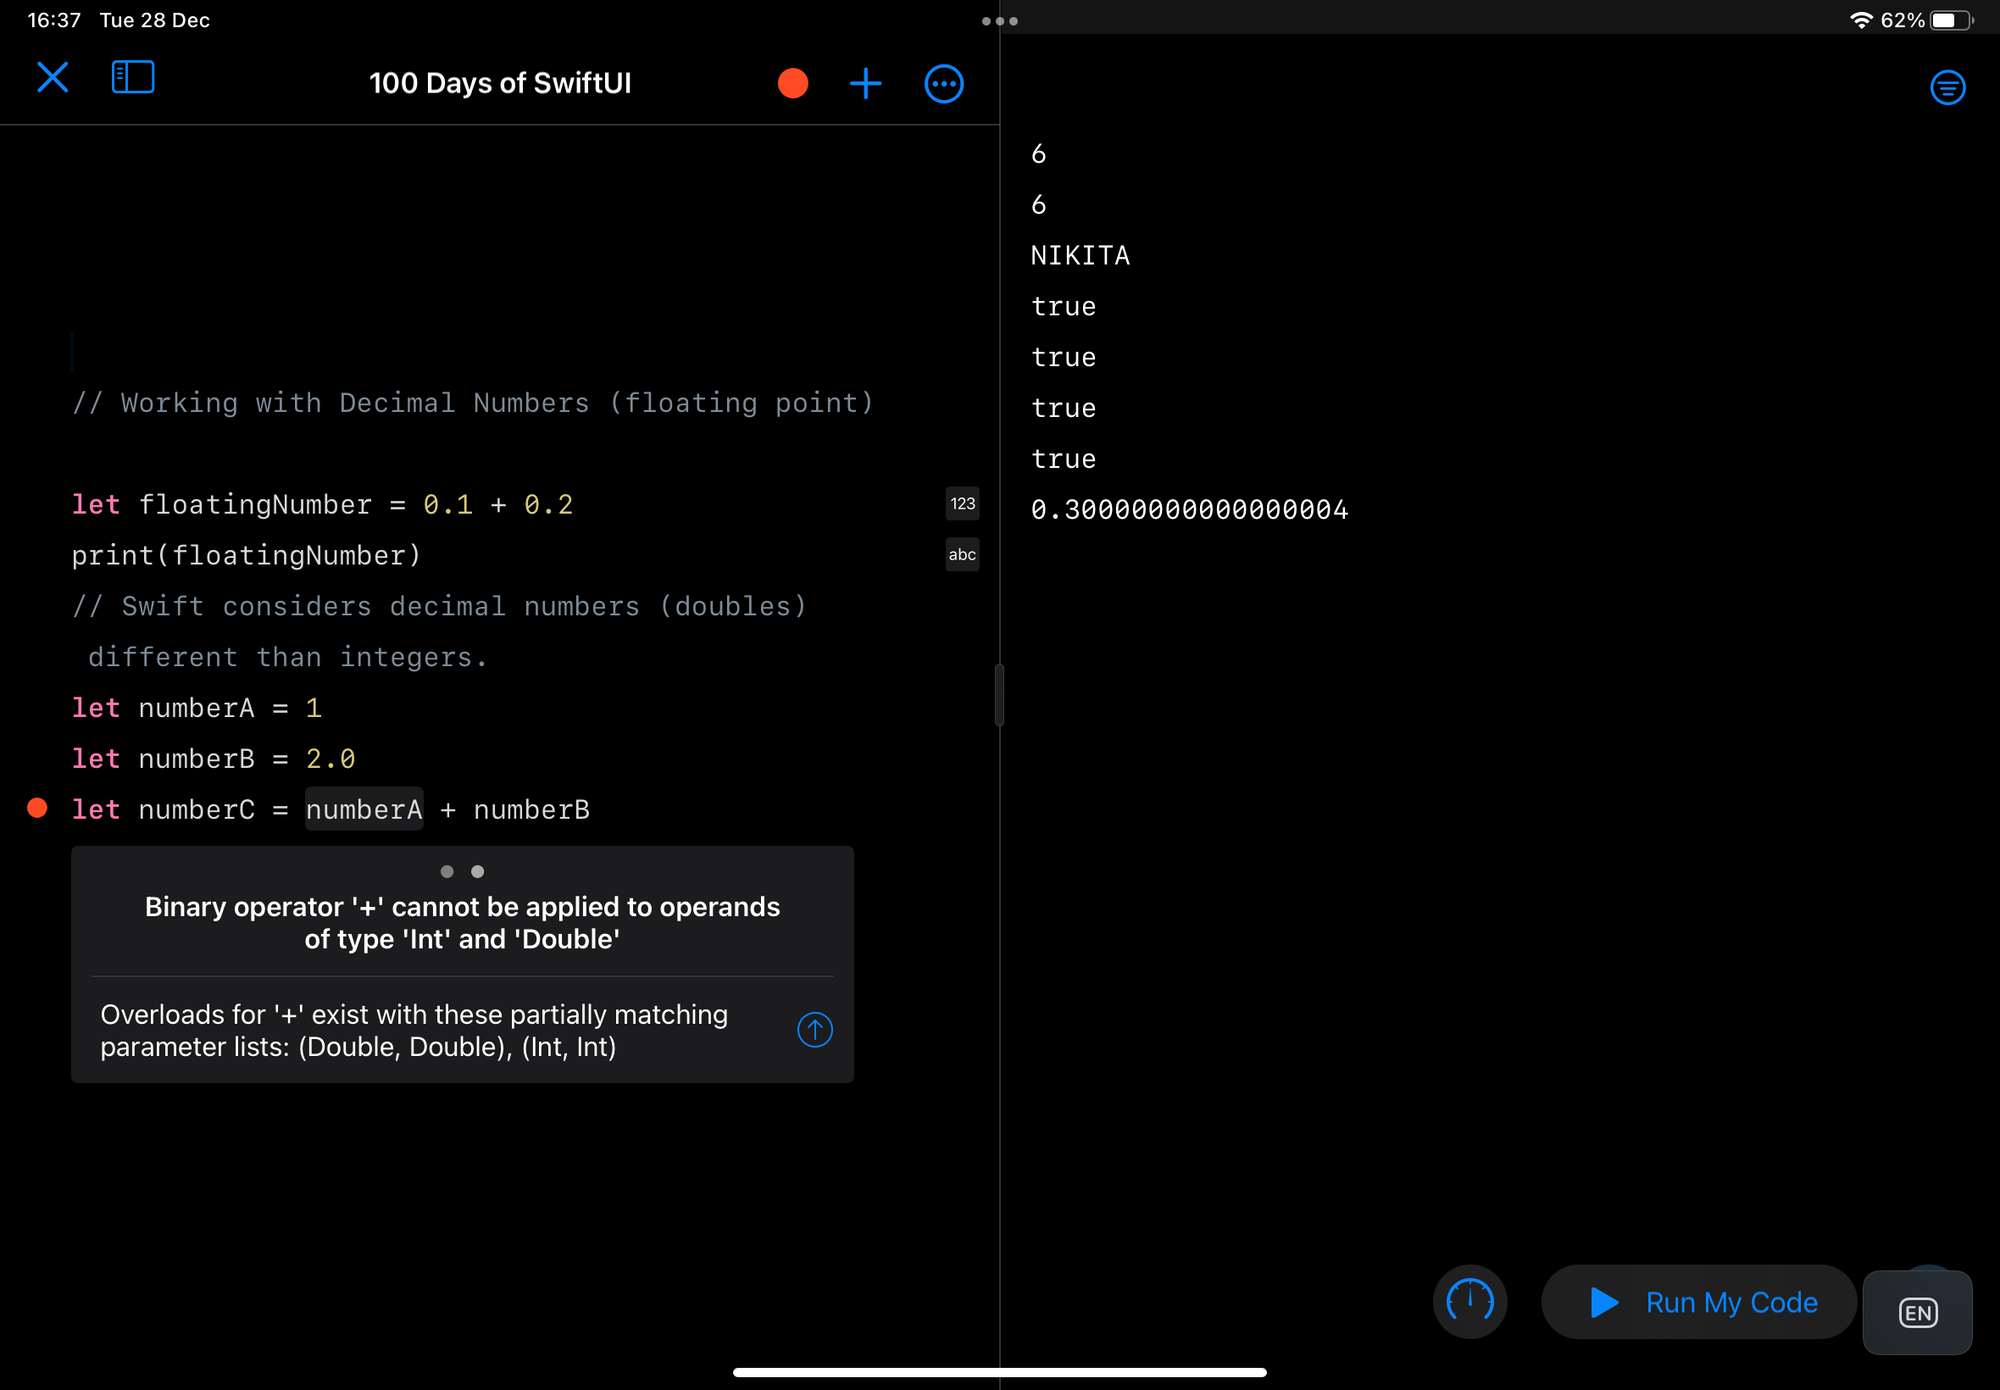
Swift also classes integers and decimals as different types. So, you can't add an integer to a double, or vice-versa. Unless you tell Swift to treat one number as the other.
let numberA = 1
let numberB = 2.0
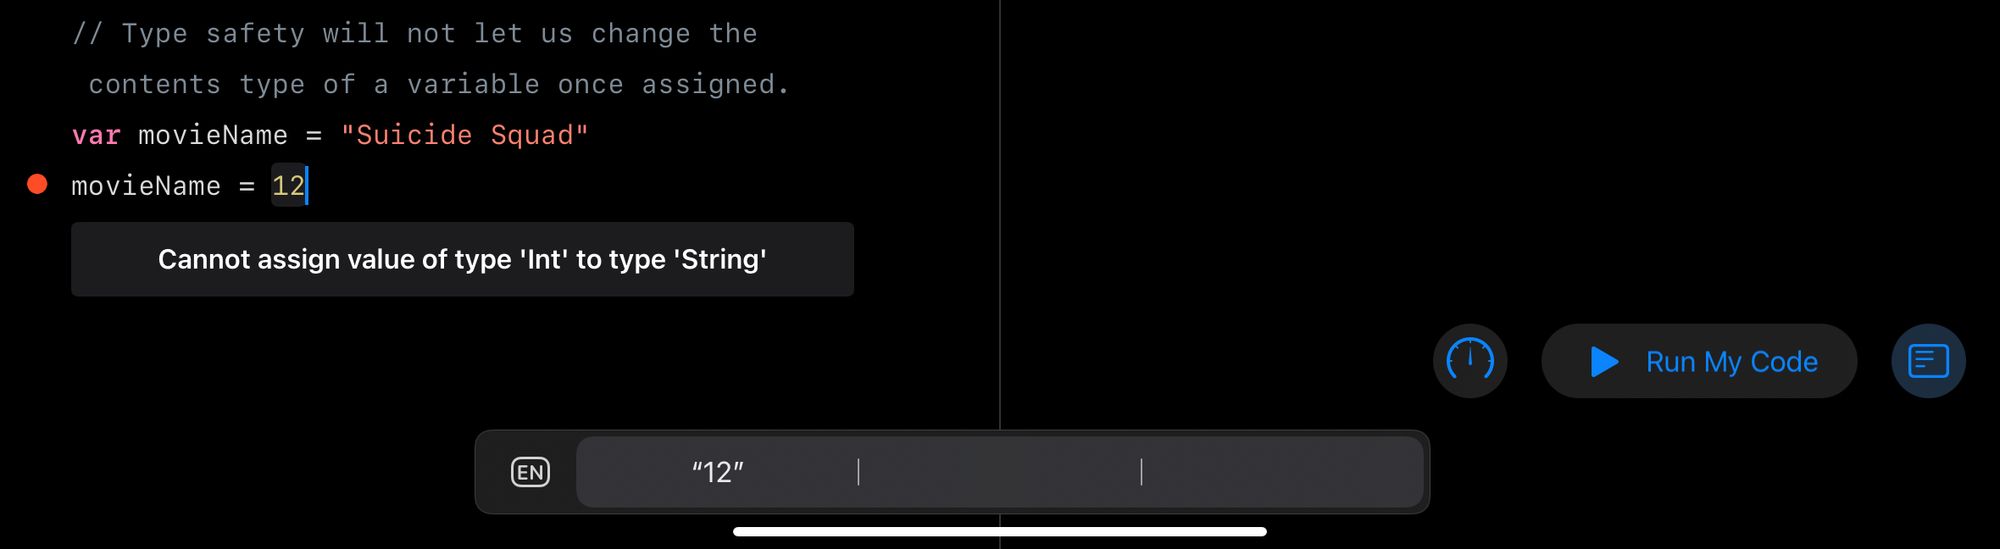
let numberC = numberA + Int(numberB)Type Safety will also step in if you try to change the type of variable. For example, changing a string to an integer.
Summary
That's the end of the content for day 1 of Hacking with Swift's 100 Days of SwiftUI. As things progress past these first few basic concepts, I'm sure you'll start seeing me make stupid mistakes, but hey, isn't that a part of learning?
If you'd like to join in, head over to https://www.hackingwithswift.com/100/swiftui and follow along.
Hopefully, by making this initial post, it will hold me accountable to making progress each day (Hah!).