
Pre-Warning: I still need to add Alt-Text to the screenshots. I'm afraid I was in a rush in getting this post together. For those that need it, I apologise and it will be updated.
I haven't done a Microsoft/Windows related post for a while now, not since my quick look at the new Terminal application. As I've been working on my Windows machine today, I thought I'd write the post here and discuss something a little Microsoft'y.
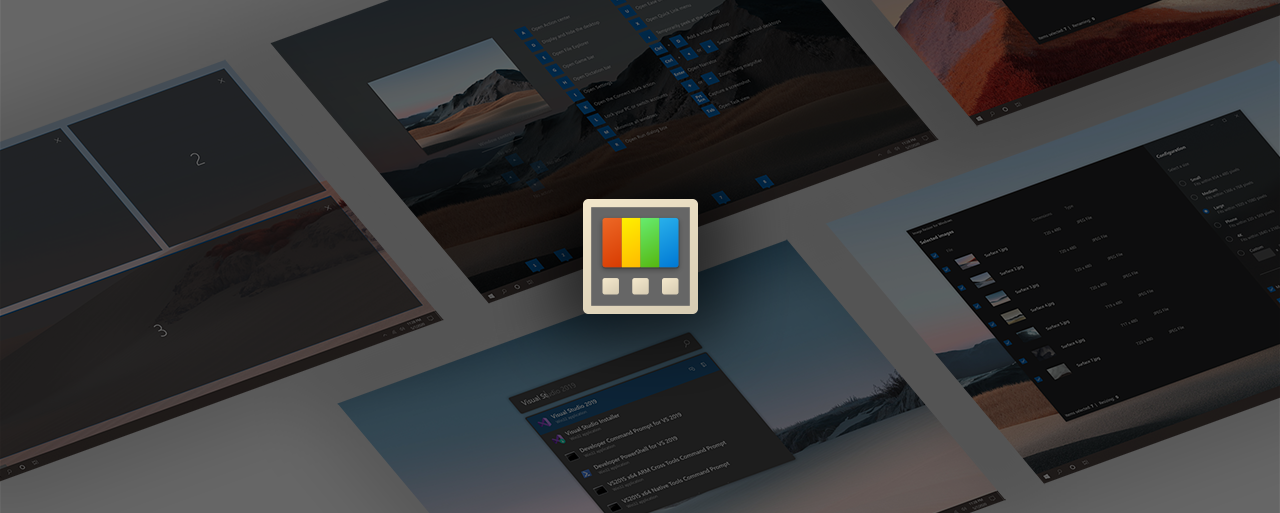
What is PowerTools? It's a small selection of helpful little tools to increase your productivity and tweak parts of Windows to make your life a little easier. PowerTools has actually been around since the days of Windows 95 (for those of us old enough to remember). 95 was but a flicker in my computing life, however, as Windows XP soon came along - this is where I spent a lot of my time and got to know PowerTools and TweakUI. Allowing me to completely break things at will. After living in XP for some time, I moved to Windows 2000 - and loved every second of it until eventually moving to Vista, 7, 8... The less said about a couple of those the better.
Anyway, PowerTools is back and it's free and open source, being developed in the open on GitHub:
 microsoft
What delights to Microsoft have on offer for us these days? Well, a couple of pretty cool items actually. I haven't had chance to play with them all but here's a full list:
- FancyZones brings us a window manager tool to create window layouts.
- File Explorer Add-ons (Preview Panes) gets you a file preview pane.
- Image Resizer is a tool to easily and quickly resize 1/many images.
- Keyboard Manager gives us the opportunity to change our keyboard shortcuts.
- PowerRename is for bulk renaming files.
- PowerToys Run will be familiar to macOS and some Linux users.
- Shortcut Guide is a very cool tool to bring up relevant shortcuts in a single press.
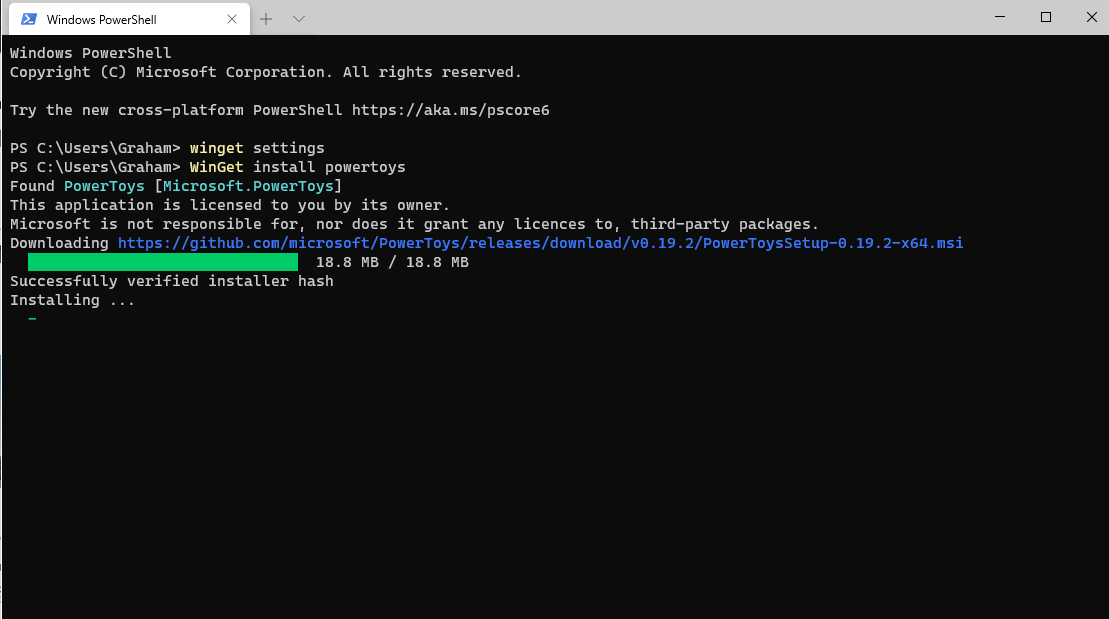
Before I touch on the couple of tools I've looked at, how can you install this yourself? The preferred method is to download the MSI installer from the GitHub Repo but I opted for WinGet as it was something I wanted to test out. This gave me the perfect opportunity.
Using the new Terminal application, I ran WinGet install powertoys
Once it was installed, I had to run it once from the installation location for it to kick in: C:\Program Files\PowerToys. You can then open the settings by right clicking on the icon in the system tray.
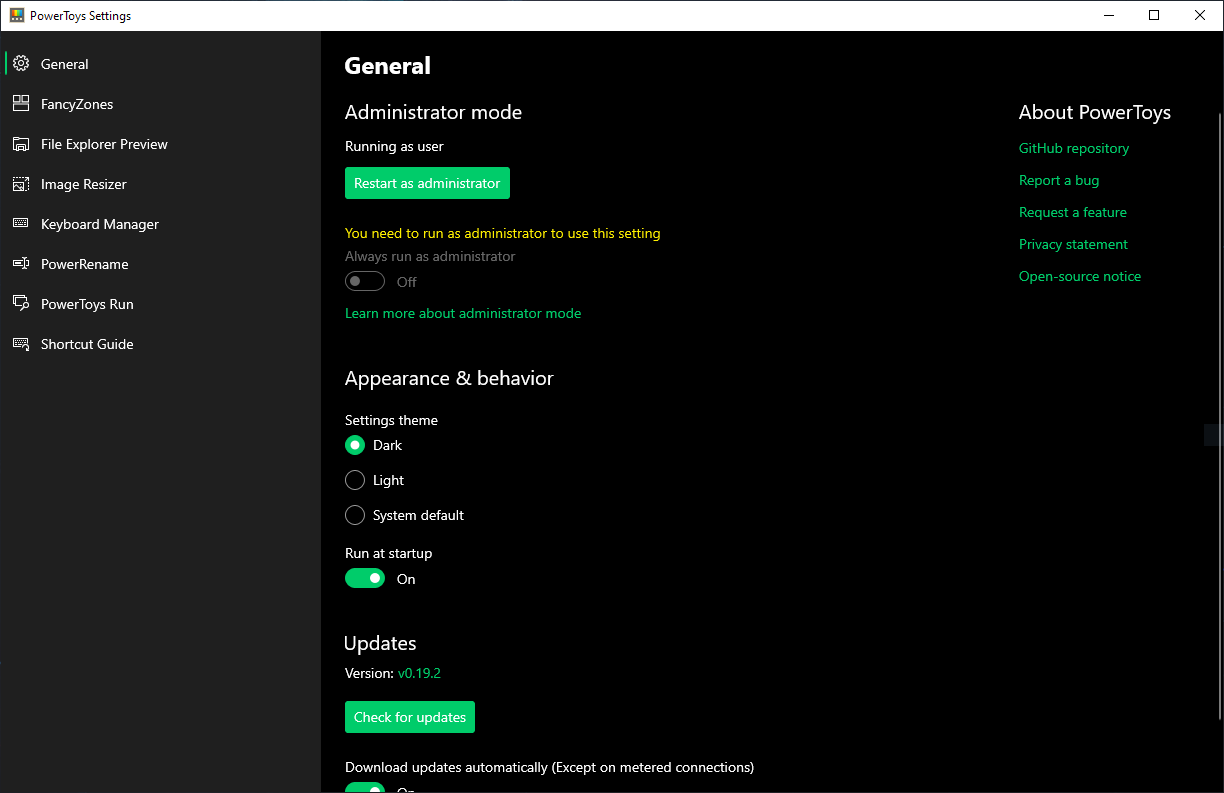
There is an incredible number of options in here for each and every tool, far more than I have time to cover in a "Quick Look". If you'd like me to delve deeper in to any of the features in particular, please let me know.
I'll briefly touch on the two that I used the most throughout the day. Those were Shortcut Guide and PowerTools Run.
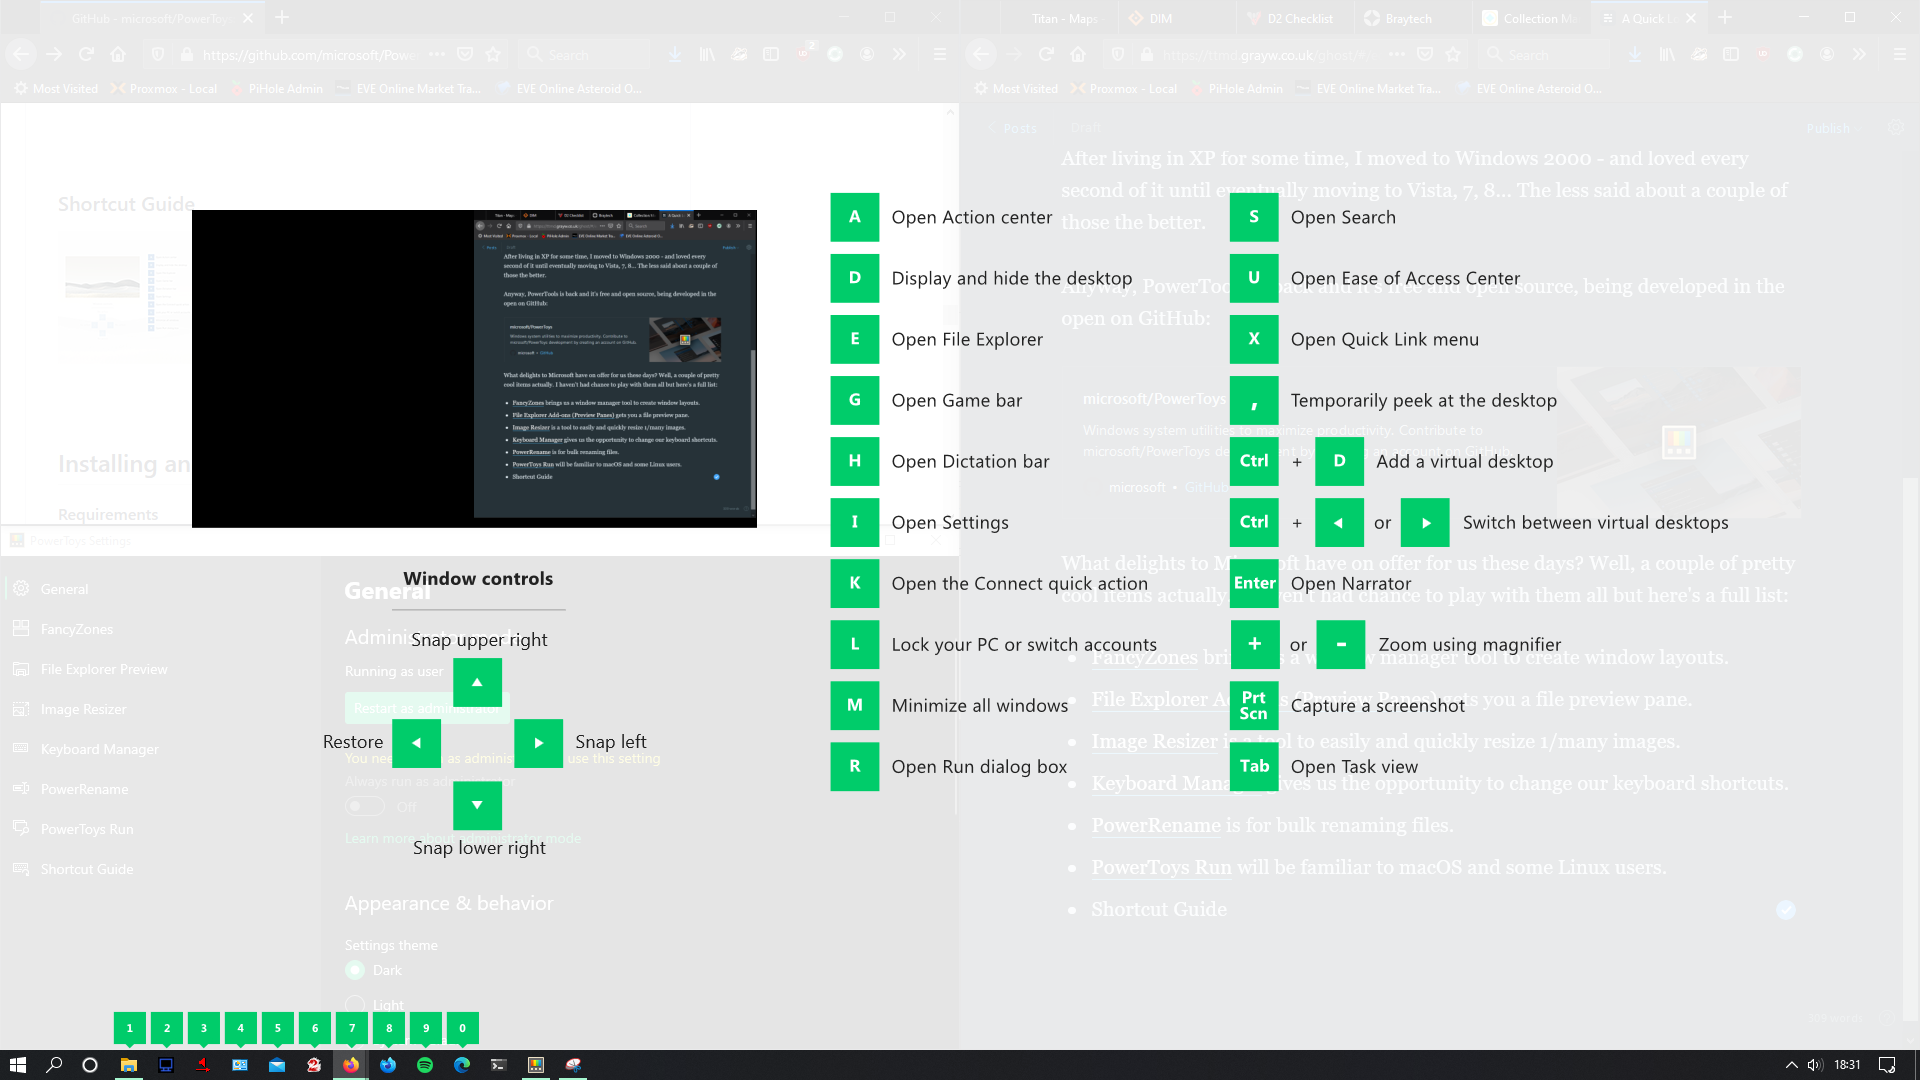
The shortcut guide can be accessed by holding down the Windows (Super) key, revealing an overlay that lets you know what button combinations can be used in terms of what is on your screen.
As you can see from the below screenshot, I had a multitude of options available for the active window and the explorer shell in general. Allowing me to open any application on the taskbar with the corresponding number, or perform any number of actions such as opening settings or task view. Even zoom in or use the Narrator.
The next was PowerTools Run. This was something I was really excited to try as while I'm working on macOS I make heavy use of Alfred and while I'm on my laptop which runs openSUSE, I make use of KRunner. As a side note, if you've never used openSUSE, you owe it to yourself to try it - it's one of the most fantastic distributions I have ever used and stopped my hopping over 5 years ago.
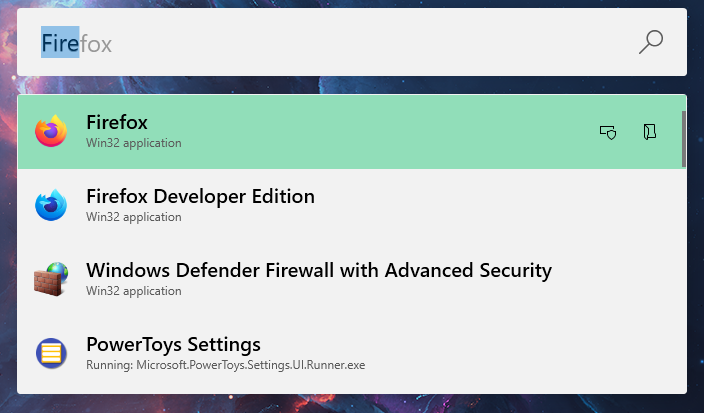
By tapping the Alt+Space bar, you're presented with a very familiar pop-up allowing you to type the name of the application or file you're looking for. This is something I've wanted for my Windows workflow for quite some time now, and I am incredibly excited that it's here (sad nerd...).
As I mentioned earlier in the post, this was just a very quick look at some tools that I wanted to use myself. If you'd like me to delve in to these and others in more depth, please let me know.
Join me over on Fosstodon to discuss this post and more.