OnePlus 3 - Replacing Rear Camera Module: Attempt 2
A while ago I attempted to replace the rear camera module in my OnePlus 3 due to the fault it developed with auto-focus. This is, unfortunately, a common fault with this device. As you've probably guessed, attempt 1 did not go as planned.
I completely ruined the tips of the plastic pry tools that came in the kit while attempting to get in to my phone. I also managed to slightly detach the screen from the body while using the suction cup as it suggested.
Well, I ordered some more tools the day after once I'd calmed down a little and they finally arrived yesterday. I hadn't actually planned to attempt this again this week but the tools and the camera module on my desk just kept shaming me. So, attempt 2, here we go:
I forgot to take pictures early on in the process so the first one is about half way through.

Here the back panel has been removed and the phone is face down. The battery, screen, antenna and mother/daughterboard connectors have been disconnected. The screws have been removed and I'm read to remove the board.
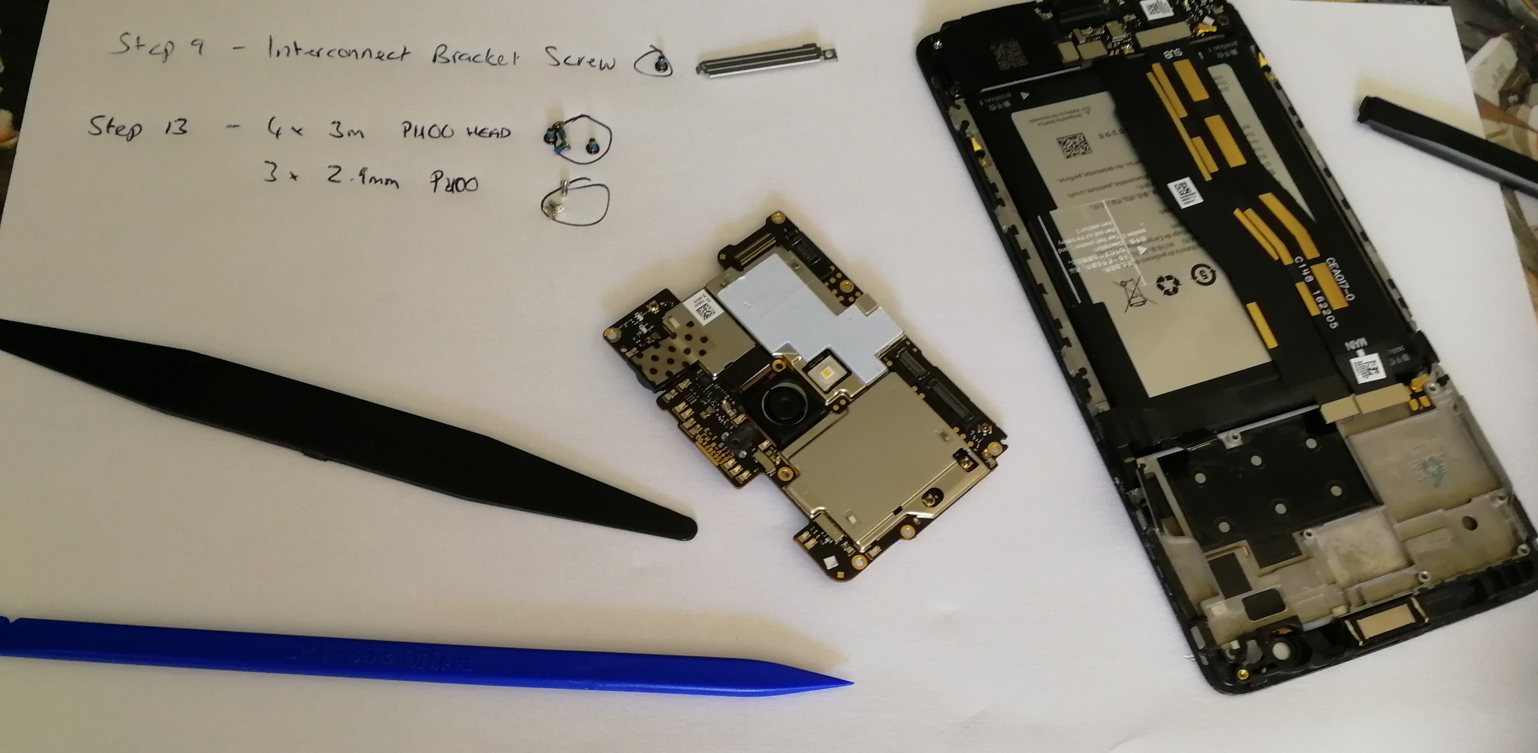
The motherboard has been removed from the top of the device and I'm getting ready to remove the old camera module. Getting this board out was nerve-wracking. The iFixit guide made it sound completely simple and the videos I watched had all obviously removed the board before recording the video as it was so loose. The crack once it came loose almost made me drop the tools.
I forgot to take any more around this time because I was concentrating so hard on getting peices to come apart without breaking it.
After about 10 minutes of trying, I finally managed to attach the data cable for the new camera. It was incredibly awkward. Once it was in, I started working backwards through the guide until I got to the point where I was supposed to but the back on. At this point, I carefully powered the device on to check that the camera module was working.
Test complete. The camera is focusing and the quality looks to be that of the original part. Haven't been ripped off on eBay this time!
I turned the device off and after some minor alignment issues, managed to get it back in the rear casing. I powered the phone back on and checked that everything was working and decided to one final camera test out in the garden.

All seems well and the device is working without issue. I can finally take pictures with my phone again after almost a year of putting up with having to shake it for a minute or so before being able to use it. It was only in the last couple of weeks that shaking no longer made a difference.
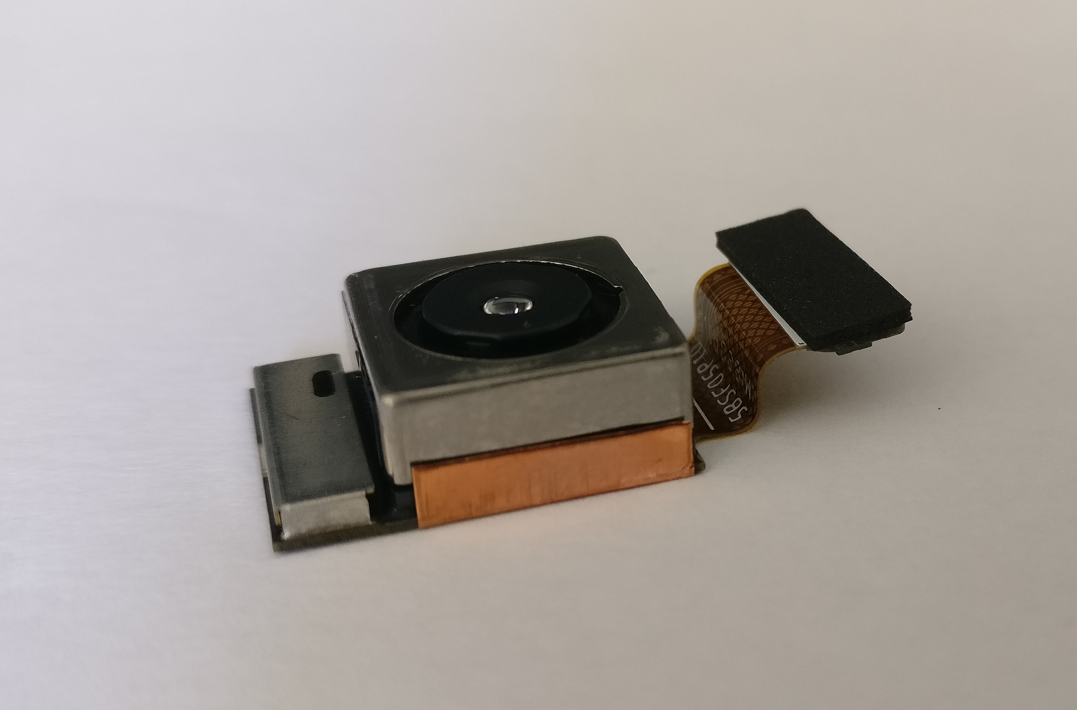
And this is the cause behind all my problems, and almost the instigator in me purchasing another phone.
What have I learnt from this process? That my hands are far too shakey these days to continue to do small-scale electronics work. The penalty for leading a completely wreckless life when younger I suppose. Also that I never want to have to take apart my phone again. Wheelie has been with me for four years so far, and here's to four more, my faithful hard working friend.
We'll work out how to deal with the lack of software updates together when it starts to become an issue.
And yes, my phone was named after Wheelie from Transformers. I build a wierd bond with technology that has served me for a long time, I can't help it.

A little bit rough around the edges, but he gets the job done in style.